Compiling JavaScript used to be a foreign thing for a WordPress developer. Now we need to do it to create a custom Gutenberg block.
Basically, Gutenberg uses JSX syntax that allows HTML inside JavaScript:
// JSX syntax
edit: function( props ) {
  return (
    <div className={ props.className }>
      Hello World!
    </div>
  );
}
But that code won’t run, you need to convert them into normal syntax:
// Converted to normal syntax
edit: function( props ) {
  return element.createElement( 'div', {
      className: props.className
    },
    'Hello World!'
  );
}
Follow the steps below to learn how to convert them!
Step 1: Install Node JS
Select the LTS Version as recommended and install it.
Check if it’s successfully installed by running this command:
node -vIf you see the version number, then you’re good to go. Otherwise, try restarting your computer first.
Step 2: Create Config File
For this example, we are assuming our theme structure looks like this:
my-theme/
├── js/
├── jsx/
│   └── my-block.js
├── index.php
├── page.php
├── ...
The folder /jsx is where our pre-compiled javascript lies. Later it will be compiled into /js.
Now, create a config file named package.json in your theme’s root folder:
{
  "name": "my-block",
  "private": true,
  "author": "Henner Setyono (https://wptips.dev)",
  "devDependencies": {
    "@wordpress/components": "^9.5.0",
    "@wordpress/scripts": "^9.0.0"
  },
  "scripts": {
    "watch": "wp-scripts start jsx/my-block.js --output-path=js",
    "build": "wp-scripts build jsx/my-block.js --output-path=js"
  }
}Important: Adapt the scripts part to fit your project.
You can also define multiple JS:
"watch": "wp-scripts start jsx/my-block.js jsx/other-block.js --output-path=js",Step 2b (Optional): Create Sample JavaScript
If you don’t have any script to compile, use this sample to try:
import { registerBlockType } from '@wordpress/blocks';
import { RichText } from '@wordpress/block-editor';

registerBlockType( 'my/custom-block', {
	title: 'Custom Block',
	icon: 'universal-access-alt',
	category: 'layout',
	attributes: {
		content: {
			type: 'array',
			source: 'children',
			selector: 'p',
		},
	},
	example: {},
	edit: ( props ) => {
    let atts = props.attributes;

		return (
			<RichText
				tagName="p"
				className={ props.className }
        value={ atts.content }
				onChange={ ( newContent ) => {
          setAttributes( { content: newContent } );
        } }
			/>
		);
	},
	save: ( props ) => {
    let atts = props.attributes;

		return (
			<RichText.Content tagName="p" value={ atts.content } />
		);
	},
} );
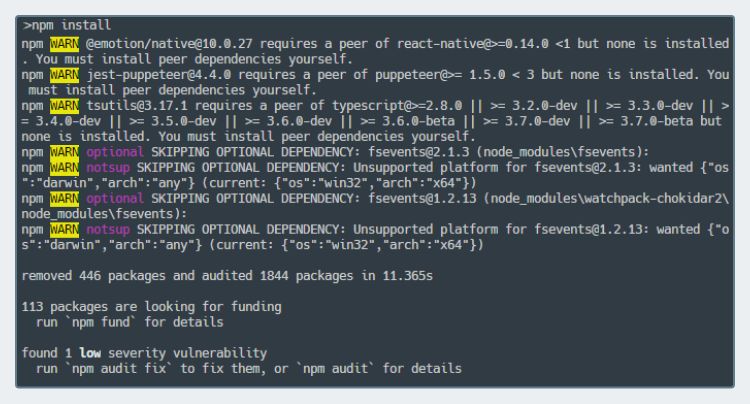
Step 3: Install Dependencies
Open command prompt / terminal in your theme and run this command:
npm install
After finish, you will see /node_modules folder. If you use Git, make sure to ignore this folder.
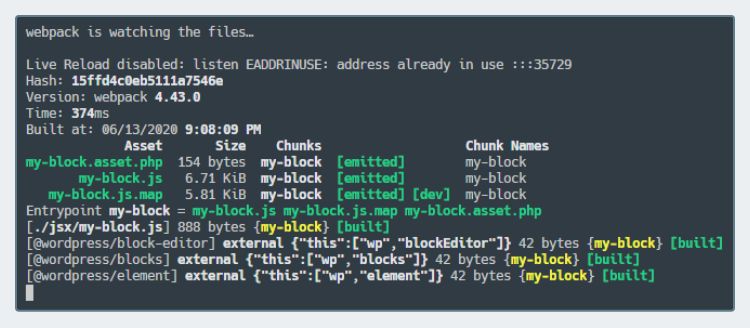
Step 4: Compile!
Run this command to compile your JS everytime it changes:
npm run watch
After you finished developing your custom block, run this command to minify it:
npm run buildConclusion
The main reason to use JSX is to make your code cleaner and easier to read. Yes, the setup process can be confusing, but it’s worth the effort.
To learn how to make custom Gutenberg block, read our tutorial. It uses normal syntax, but you can replace it with our sample JS above.
Actually, I wrote a series of Gutenberg tutorial using normal syntax on this Github. Feel free to check it out 🙂
Let me know in the comment if you have any question regarding JSX


I have did all the steps from this page and I'm getting this error
$ wp-scripts build jsx/my-block.js --output-path=js 'wp-scripts' is not recognized as an internal or external command, operable program or batch file.
How can I fix it? Thanks.
Hi Stevan, It seems you haven't run
npm installto install the dependenciesHi Henner Setyono,
I did run npm install several times.
Hmm probably the command changed for newer version. Change the devDependencies into this:
and run npm install again
Hello Henner Setyono,
In package.json I changed "watch": "wp-scripts start jsx/my-block.js --output-path=js", "build": "wp-scripts build jsx/my-block.js --output-path=js"
to this "scripts": { "build": "wp-scripts build", "start": "wp-scripts start", "test": "echo \"Error: no test specified\" && exit 1" },
and now it's working.